About Me

My photo
Hi, I'm Pam and thank you for visiting my blog. I have been making cards for over 10 years and am an independent demonstrator for Creative Expressions. I am lucky enough to teach on cruise ships and also get the chance to demo at The Big Stamping and Scrapbooking Show at Alexander Palace. I run workshops for a local craft shop and if anyone would like details of the them please e-mail me at stephen.smith870@ntlworld.com I love to scrapbook but my all time favourite thing is to get messy with ink!

Wednesday 28 May 2014

Just For You!

Good Morning One and All and a very Happy Wednesday.

I'm back with a card a made as a sample for the shows that Sam had on Create and Craft a couple of weeks ago.

This is one of my favourites from all of the cards I've made using the Nautical Stamps.

I've used the Singles "Just For You" stamp and the waves are from the Spellbinder Nautical Accents Dies.

As always, I've posted a full step by step tutorial on the Creative Studios Blog.

We're off to be ageing hippies today at our first festival of the season so I'll love you and leave you as we're leaving shortly.

I'll be back on Tuesday with another project from Creative Expressions.  So until then, whatever you're doing, have a great time and many thanks for visiting.

Tuesday 27 May 2014

For You

Good Morning All and a very Happy Tuesday.  It's Creative Expressions day here at "The Taming of the Glue" and for this project I've used one of the new Singles Word Stamps.

So without further ado, here's the "how to"!

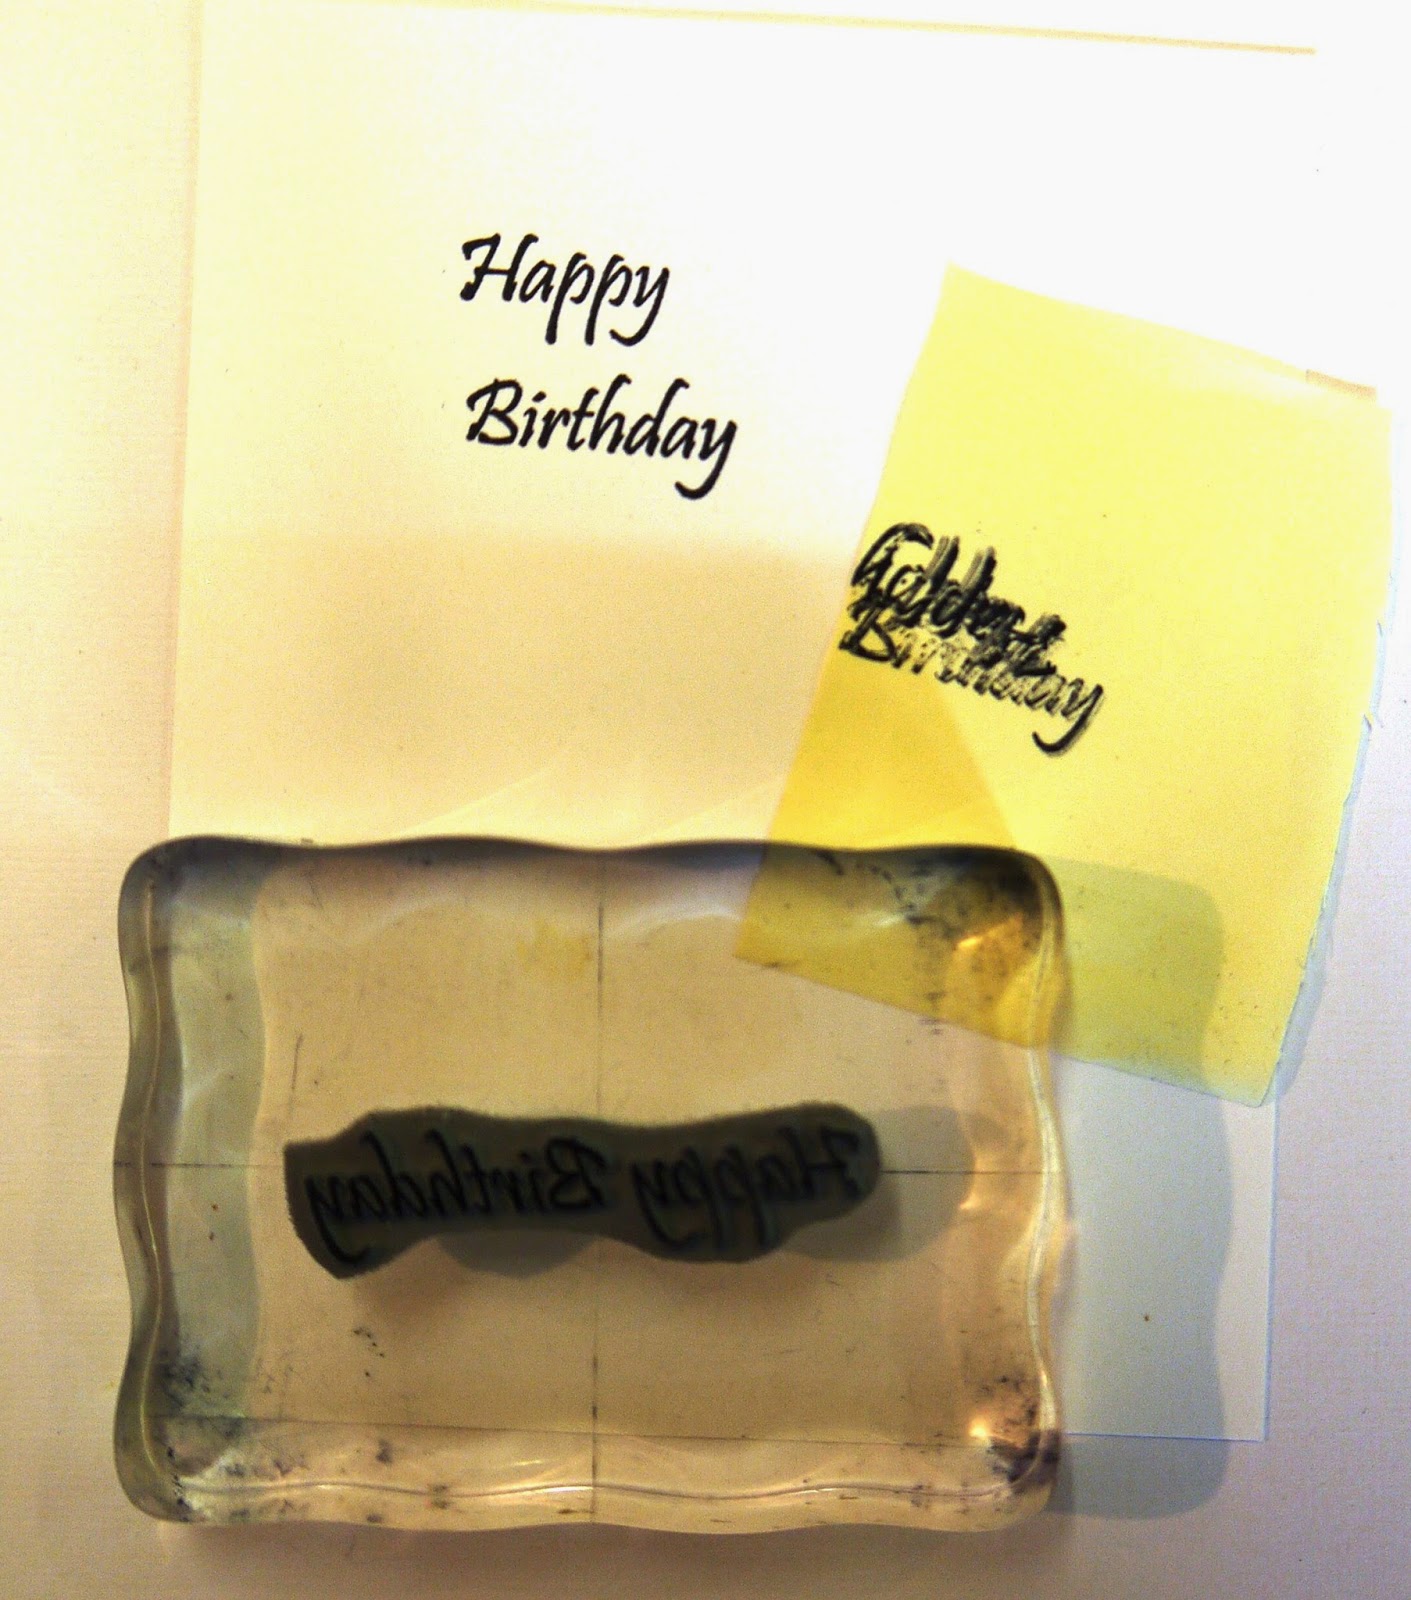
Ink up the "For You" stamp with black Archival Ink and heat emboss using Cosmic Shimmer Clear Powder on Coconut White Card.

Stamp again onto a sticky note and cut out to make a mask.  Place it over the stamped image.

Mix a small amount of Cosmic Shimmer Spiced Raspberry Matt Chalk Paint with water in a spritzer bottle.  Shake well to mix it.  Spray over the card.

Mix up some of the Cosmic Shimmer Pearl Shimmer Paint the same way and spray over the card again.


Distress the edges of the card with Picked Raspberry and Black Soot Distress Inks.

Paint the stamped image with Picked Raspberry, Shabby Shutters, Tumbled Glass and Black Soot Distress Inks.

Stamp and emboss again on another piece of Coconut White Card.  This time paint only the flowers and add a little Mustard Seed Distress Ink to the flower centres.

Emboss the main card with the A4 Creative Expressions Art Deco Folder.  Very lightly, go over the raised surfaces with Black Soot Distress Ink.
Cut the flowers out and stick them over the top of the main image with 3d foam pads.

Tie some Black Tulle and Black Crushed Satin Ribbon together and stick to the card using a glue dot.
Stick a small square Dazzler to the centre of the faux bow and add 2 stick pins to finish.


And there's the finished project!  I do wish I could pass this around for you to see up close.  The photo really doesn't do it justice.  The pearl paint has given it such a lovely shine that doesn't show up very well on here.

On the plus side, I'm very happy to report that the new Cosmic Shimmer paints mix well with water and make great sprays!

Well, that's it for this week.  I'll be back tomorrow with a make for the Creative Studios Design Team.

Whatever you're doing this week, have a great time and many thanks for visiting and leaving comments.

Wednesday 21 May 2014

You Light Up My Life Part 2!

Good Morning All and a very Happy Wednesday.

I'm back with another project using one of the new Nautical Stamps by Sam Poole at Creative Studios.

This time I've used the Lantern stamp.

I've also made a background that looks bright and a little bit fiery to match the flame in the lantern.

As you can see, I've made a handle from gold Jewellery wire.  I thought it added a bit of interest.  What do you think?

I've got the usual full "step by step" with photos on the Creative Studios Design Team blog so please pop over there if you'd like to see how to make this card.

I'm off to the studio now to play with some new stamps!  It's a hard life but someone has to do it!!

Until next time, have a happy, crafty week and many thanks for visiting and leaving comments.

Tuesday 20 May 2014

Springtime Wall Hanging

Good Morning All and a very Happy Tuesday.  I'm back with another project for the Creative Expressions Design Team using the beautiful Tulip Spray stamps and the Earthenware Vase Stamp.

To start, paint the Pronty Heart with 2 coats of Cosmic Shimmer Warm White Matt Chalk Paint.  Go over with 1 coat of the Cosmic Shimmer Pearl Shimmer Paint.

Place the Doodle Crosses Mask over and dab Barn Door Distress Ink through the mask.  Remove mask and heat emboss with clear powder.

Stamp the Vase and the Tulips with Black Archival Ink onto Coconut White Card.  Paint with Fired Brick, Barn Door and Mustard Seed Distress Inks.

Paint the leaves with Shabby Shutters and Peeled Paint Distress Inks.  Cut out and chop the stems down on the flowers.

Stamp the Tulips around the edge of the heart with Black Archival Ink and paint with the same inks.  Blot to dry.


Shape the Vase and stick onto the heart with 3d pads in the centre and glue around the edges.  Arrange the flowers and use glue and 3d pads to stick them in place.

Use a Crop-a-dile to make holes to attach a wire hanger.
Paint around the edge of the heart with Black Soot Distress Paint.
Make the hanger from 3 strands of gold jewellery wire.
Tie small strips of co-ordinating seam binding to the wire.

And there's the finished project.  The white blob you can see where the ribbon is, is a map pin to hang it up to take a picture!

Everything I've used is from Creative Expressions except for the jewellery wire and Crop-a-dile.

I've loved using the Tulip Stamps, they are stunning and look gorgeous in different colours.  They're also really easy to cut out which is always a blessing!

Well, that's it for today.  Back tomorrow with a make for Creative Studios featuring the fab Nautical Stamps.

Many thanks for visiting and hope to see some of you at the workshops in June.  Don't forget that if you haven't booked yet, the first date is sold out.

Wednesday 14 May 2014

You Light Up My Life!

Good Morning and a very happy one to you all.

It's Wednesday so that can only mean one thing, my turn to showcase one of the gorgeous new Nautical Stamps from Sam Poole at Creative Studios.

I do hop you managed to catch Sam's shows on Create and Craft last Saturday.  So much inspiration for using these stamps and lots of fab techniques.

My project this week is using a chipboard tag and the Lighthouse Stamp.  I've used the sentiment from the Lantern set for this one.


You can also see the Background Netting Stamp has been put to good use.  I think I'm going to be using that stamp quite a lot and not just with the Nautical Stamps.

The tag has been painted with Distress paints and there is a full "how to" complete with step by step pictures on the Creative Studios blog.

That's all for today, very short and sweet, but we're taking a friend to hospital and it's going to be pretty much an all day outing.

So, until next time, have a happy, crafty week and thanks for visiting.

Tuesday 13 May 2014

Best Wishes

Good Morning All and today I bring you another project using one of the gorgeous Singles stamps from Creative Expressions.

I've gone very bright and sunny for this one (after all, the forecast is supposed to be good this week!).

So let's begin....

Stamp the Singles Best Wishes stamp using Black Archival Ink onto Coconut White Card.  Paint the image using Adirondack Sunshine Yellow, Sunset Orange , Citrus and Sailboat Blue Inks.
Cover with double sided adhesive sheet, cut to size then add Micro Beads.
Matt and layer onto orange, yellow and green card.


On a piece of Coconut White Card, stamp the flower section from the Best Wishes stamp twice more. 
Paint using the same colours as before.  Cut out.


Matt and layer using the same colour card as before but this time, add a layer of Coconut White card.
Glue the 2 flower sections into place at each end of the card.
Add the main image with 3d pads.


Die cut some flowers from the Spellbinder Finishing Touches Faux Quilled Blooms set.  Cut some Leaves from the Faux Quilled Leaves.  Arrange on the card and glue into place with Cosmic Shimmer Dries Clear Glue.
Add an 8mm White Pearl to the flower centres to finish.


And there's the finished card!

Just a quick thank you to everyone who came to Crafty Sunday, I hope you all enjoyed it.  I'll let you know the date of the next one as soon as possible but I'm thinking possibly June 22nd.  I'm just waiting to hear if we're needed for a festival (filming) that weekend.

Well, that's all for now.  I'll be back in the morning with a project for Creative Studios using the new Nautical stamps.
Until then, have a happy, crafty time and thanks for your visit.

Wednesday 7 May 2014

Father's Day!

Good Morning All and a very Happy Wednesday!  Wasn't the weather glorious over the Bank Holiday and doesn't that make a change!!

It's not long until Father's Day so I thought I'd make a card using the new Nautical Singles stamps from the very talented Sam Poole at Creative Studios.  They're not really singles as there's a sentiment with them so they're brilliant value.

Anyway, as usual, all of the step by steps are on the Creative Studios Design Team Blog so I'll just show you the finished card here.  Hope you like it.

I've used the Ship in a Bottle stamp as well as the new A6 Netting Background Stamp.  Everything can be ordered from Creative Studios (except the shells, they were a little bit of fun that Sam sent us to play with!)

Sam has 2 shows on Create and Craft this Saturday where she'll be demoing the new stamp range.  I do hope you'll join her.

Don't forget the open day at my house this Sunday.  It'd be great to see some of you.  Please phone or e-mail for details.

Well, that's all for today.  So until next time, have a great week and keep crafting!

Tuesday 6 May 2014

Bright and Cheerful

Good Morning All, hope you had a great Bank Holiday.  For once we were lucky with the weather which is why I thought I'd make a really cheerful, colourful card to celebrate Spring!

I've used one of the new Singles range of stamps from Creative Expressions for this one.  There are 2 stamps in the pack and it's called "Tulip Spray".  Anyway, here goes with the step by step....

Stamp the triple stem tulip around the edge of the blank card with Black Archival Ink.
Paint the leaves with Shabby Shutters Distress Ink and the flower heads with Picked Raspberry.

Cut some Heather, Raspberry and Coconut White Foundations cardstock to size.  Using the piece of Coconut White, dab some Shabby Shutters Distress Ink through the Leaves Mask.  Emboss using the Couture Creations Hyper Magical Folder.  Matt and layer.

Using both of the flowers in the set, stamp them onto Coconut White Card with Black Archival Ink.  Paint using the same Distress Inks as before.  Cut them out and arrange them on the card.  Glue the bottom layer into place with Cosmic Shimmer Dries Clear Glue and add the rest with 3d foam pads.

Tie a triple bow with white seam binding.  Spritz with water and scrumple up.  Dry with a heat gun.  Very gently, apply Picked Raspberry Ink.  Glue into place and add a Dazzler to the centre.

Stamp the "Happy Birthday" sentiment which comes in the Earthenware Vase set onto Coconut White Card.  To do this, mask off one word at a time so that you can stamp Birthday under the Happy.

Die cut the sentiment using Spellbinder Labels H Dies.  With the die still in place, apply Shabby Shutters Distress Ink.
Draw around the outer edge of the die onto Raspberry Card and cut out.  Matt and layer.  Use 3d foam pads to stick it on the card.
To finish, apply some Cosmic Shimmer Aurora Sparkle Texture Paste to the flowers using a cotton bud.

And here's the finished project!  Something that would brighten anyone's day!

Well, I promised a photo of the new storage in my studio and this time, I'm determined to keep it tidy!!

I'm hoping I can find a group for addicts of paper, card and ribbon as I appear to have a serious problem!  I'm too ashamed to show the unit with all the ribbons in and I managed to cut off most of the bottom row on this photo that has my "good" papers housed in it!

That's about it for today, hope you liked the project and that you'll join me tomorrow for a project using one of the new Nautical Themed stamps designed by Sam Poole at Creative Studios.  Everything I've used today is available from Creative Expressions.

To finish, just a reminder that I'll be having an "Open House" on Sunday 11th May so come along and have a play with the new stamps and masks.  Hope to see you there!
Many thanks for visiting and leaving comments.